Is It Cheaper To Paint Yourself Or Hire A Painter?
January 15, 2020
Is Painting Part Of End Of Tenancy Cleaning?
May 28, 2020Five Wall Painting Techniques
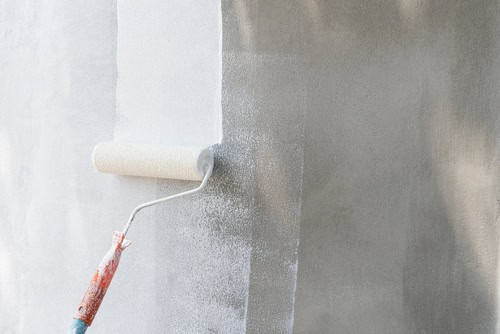
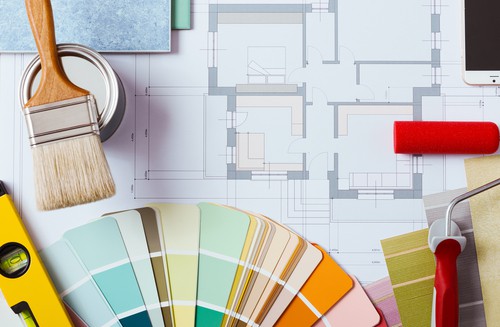
Five Wall Painting Techniques. Wall painting is a great way to change environments. So, knowing some wall painting techniques that help renovate your home can be interesting.
If you think that home painting is just an aesthetic issue, you’re wrong! The paint helps to correct imperfections, protects the walls and even gives new use to a room (chalkboard paint, for example, turns a room into a good study room or home office).
Thinking about it, below are five ways to paint home techniques, either alone or with professional help.
Five wall painting techniques
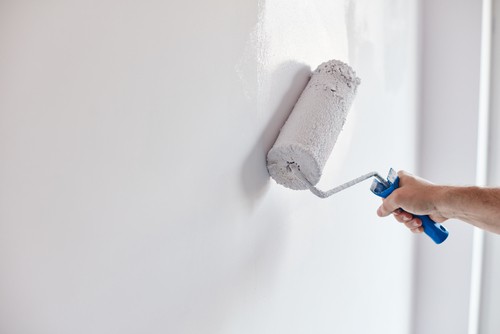
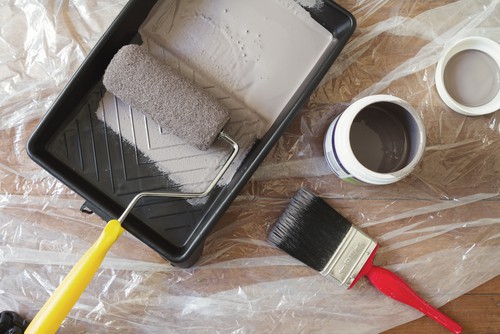
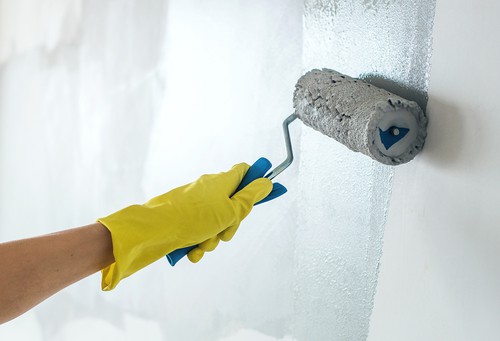
Before anything, it is necessary to prepare the wall, that is, sand it or use a spatula to remove residues. Then, you need to clean it with a white cloth, water, and neutral detergent. That done, just choose which technique you will use.
1. Graphic.
Grafting is a technique that provides the effect of irregular grooves. As it requires specific materials and the procedure takes time.
After preparing the wall, apply the acrylic primer and let it dry (4 to 6 hours). Then, make the dough and use a plastic trowel to place it on the wall. Then, the “easy streak” comb comes in, responsible for the effect. To remove excess dough, finish using the trowel again.
The drying time is 1 to 2 days. All materials are found in construction stores, and you can buy the mass of white graphite or other colors.
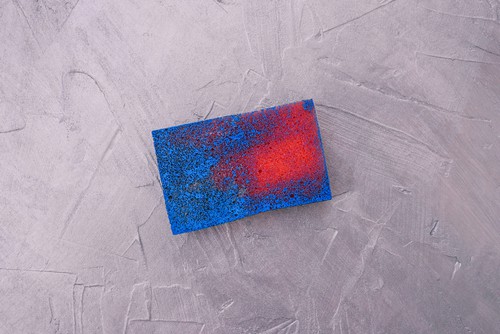
2. Spongy.
Sponging is easy to make. The texture will be created with a bath sponge or crockery. Remember that the type of sponge will determine the effect obtained. So, choose one that pleases you visually.
Apply a base paint to the wall and wait for the indicated drying time. Then, with the sponge, apply the color again to create the “smokey”. Those who prefer can use a different color over the first. The important thing is to dose the paint well in the sponge so that it doesn’t run down the wall and ruin the work.
3. Brushed.
If you want a wall with thin streaks, whether vertical or horizontal, try the brushed effect. It is also simple, and, as the name implies, you will need to use a brush or a broom. The object must be clean and, preferably, new.
Apply the first coat of paint and wait for it to dry. After the second coat and before the paint dries, take the brush or broom (without handle, for better handling) and move the wall in the desired direction (vertical or horizontal). For the result to be uniform, pass the brush at once, from one end to the other.
4. Stencil.
The stencil is a cast. There are several with different designs, so think first about the design you want and look for the desired figures.
At the time of application, you can support them on the wall already painted and dry, holding with one hand while the other passes the brush with the paint. If you are not sure about doing this, stick the stencil to the wall using masking tape on the edges.
Overlapping tones (like dark blue walls and light blue designs) creates attractive effects, but in some cases, it is better to use different colors to highlight the pattern (like white designs on a pink wall). It all depends on your goal and style.
5. Stickers.
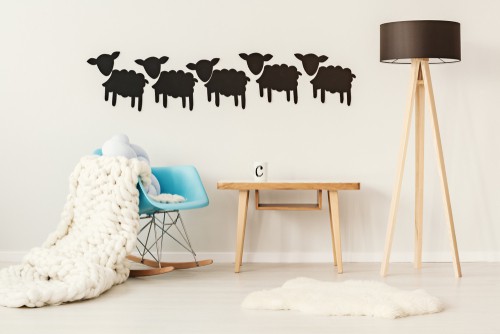
The adhesive is successful for practicality. Anyone who has recently painted or likes the color on the wall doesn’t even have to worry about the paint. The change will be due to the phrases or drawings that will be pasted. There are wall stickers of two types: they need glue, and they don’t (stickers).
The tip to apply them correctly is to paste them gradually: first, place the adhesive where it should be and make some marking (with masking tape or pencil). Then, spread the glue on some end (or peel off the film, if it is self-adhesive) and stick only that piece.
Wipe the glued part with a cloth or plastic spatula to remove any bubbles. Repeat this same procedure until you reach the end of the sticker.
In conclusion
Painting the house, either inside or outside, is one of the decisions that require more meditation. Of course, it is not something we do every day; therefore, it is necessary to be very sure of the choices we make. It is also worth daring and combining several wall painting techniques in the same room.