Guide To Choosing The Best Color To Paint Your Home
March 21, 2022
5 Qualities a Professional Painting Service Company Should Have
June 29, 2022How To Prepare A Room Before Painting?

How to prepare a room before painting? Painting the walls of your rooms can be such a time-consuming task that it requires great vigilance and care. This can be a hassle-free operation if you prepare your space before you start painting. You need to undertake a few steps each time you need to prepare those walls.
Therefore, if you have the right paint and a professional painter, you must prepare the space adequately for more convenient operations. The tips below will help you ready any room to tackle the painting successfully. You will love the results that come with it. These tips include. Read on – How To Prepare A Room Before Painting?
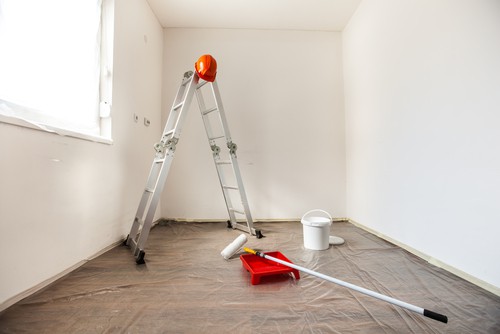
Clearing the way for painting
Before you can start painting any room, you will need to empty the space. For those heavier pieces of furniture, you can push them into the center part of the room. You can go ahead and cover them with a piece of cloth to keep them clean in case there are some splatters. Tape any screws and remove knobs if you are going to paint doors.
Cleaning the walls
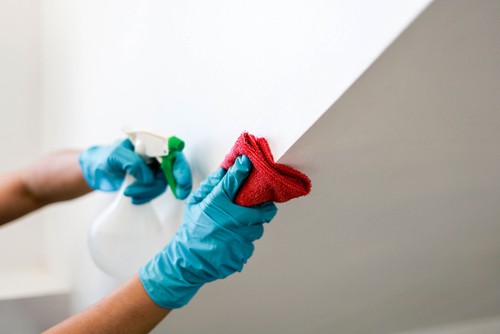
If there are any stains or marks on your walls, you need to get rid of them before starting to paint them. Here, you can opt to use a sponge and trisodium phosphate. Some dark marks can easily show through your paints; therefore, you should wash them. Also, this helps to remove any mildew on the walls.
You can repeat the process repeatedly using clean water until it looks clean enough. Leave the wall to dry for some time before applying the paint.
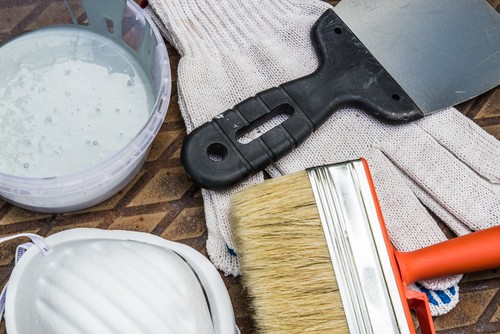
Inspecting the walls
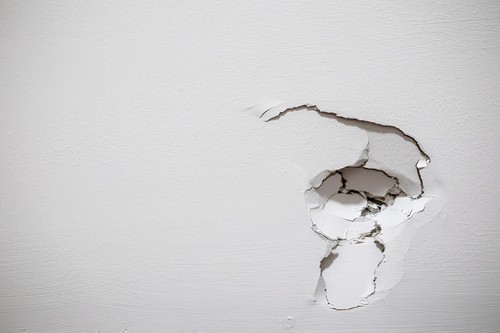
You should ensure that your walls of yours are filled. They should be free from holes, cracks, dents, and other imperfections. Using a putty knife, a lightweight compound is suitable to repair these holes. After removing any excess putty, you can leave it for some time to dry up. When it is dried up, you can use sandpaper to keep the area as smooth as possible.
From here, you can wipe the walls using a damp towel to keep the surface clean. If the wall has larger holes, it is suitable to use drywall patching kits. You can proceed to caulk gaps between the walls and trim before filling nail holes using wood putty.
Leave for some time to dry up and sand it. Moreover, if you are going to apply low-gloss paint to high-speed surfaces, ceilings, or sand walls, it is suitable for scuffing old stains for the new paints.
Sanding the surfaces
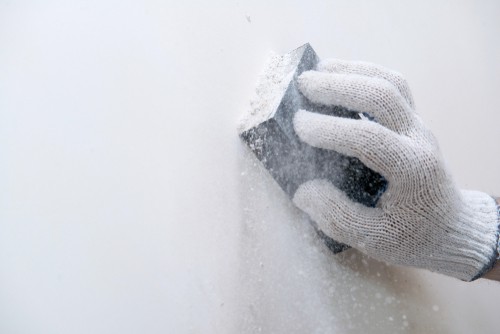
Not every painting project requires sanding. However, if you have rough spots on the walls, you should send them before you can apply paint. This allows you to have a smooth painting process. It is suitable to use a sanding block or sandpaper to smoothen any uneven surfaces. If you had painted your walls using high gloss or gloss paints, it is necessary to smoothen them.
You can use fine-grit sandpaper with water-based paint and medium-grit sandpaper with oil-based paints. After all this, you should wipe the remains away and leave the surface to dry completely.
Sweep the room
For more convenient painting tasks, it is suitable to keep the environment as clean as possible. Keep all the painting messes in one place to prevent the wet paints from traveling to the next rooms. Find a stable table to keep the trays, paint, rollers, brushes, and other items. If not, you can come up with a work table using a piece of plywood.
You can lay them over some two sawhorses. This will keep your entire space neat. Use a giant trash can to throw any debris. It would be best to avoid a messy workplace because it can cause unnecessary accidents.
Taping and protecting other areas
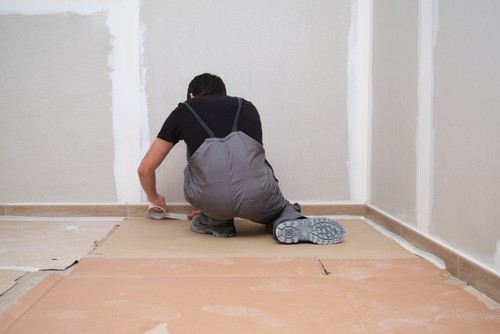
If there are some areas that you do not want to paint, you can go ahead and tape them. You can purchase different tapes with different widths to suit your needs better. Cover fewer electrical receptacles and outlets; you can use painter tape with wider strips. You can cover any recessed light fixtures using pieces of tape.
Additionally, if you need to paint your ceiling a different color, you can place the masking tape on the edges of the ceiling. Using your fingers, you should ensure that you press the tape firm enough to stick correctly. Also, it would be best if you sealed tape the edges to avoid the paint from seeping into the tapes.
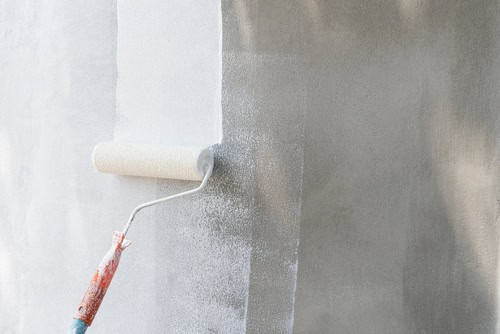
Outlining the room using a primer
This requires you to cut in by simply outlining your surface using a primer. Here, you need to leave a few inches of bands at the edges of the surface where it meets with baseboards, ceilings, window frames, doors, ceilings, and more.
When you are done, you can stroke the walls using the primer. When the primer is dry, you can wipe away the bumps or any other uneven surfaces lightly. This keeps the entire surface smooth and even.
Place final safeguards
You should purchase enough clothes to cover any space or furniture left in the room. This saves you from frequently moving the drop cloths from one place to another. Use heavy-duty canvas lined with plastic coating whenever you are covering flooring or carpeting.
This prevents the paints from leaking to the surfaces below it. You can opt for plastic drop cloths to avoid any splashes as you roll paint on your ceilings whenever you need to protect windows.
How To Prepare A Room Before Painting? – Conclusion
Painting your walls requires more preparation than you would expect. You can never paint your walls before getting everything ready. Good preparations guarantee you better results. This will take you some time; however, it will pave the way for better, good-looking, and long-lasting paints in the future. With the above tips, you can always proceed to paint your walls.
This clearly shows how the entire painting process will be such a more straightforward task after cleaning, patching, protection, sanding, priming, and performing other preparations. All these assure you of the best walls when you are done painting.