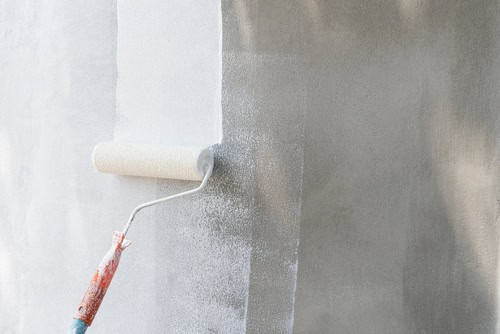
What Happens If I Don’t Prime a Wall Before Painting?
February 5, 2021
What To Expect From A Professional Painter?
May 3, 2021How To Wash Walls Before Painting?

How To Wash Walls Before Painting? Wall preparation is highly important when intending to paint the walls. You have to ensure there is no dirt, grime, and rough spots that can compromise the paint adherence.
Washing the walls has a special role in preparing the surface for contact with the paint. Any impurity will weaken the bond, making the paint more likely to peel off. Find below a guideline to washing walls before painting your home!
1. Protect the floors
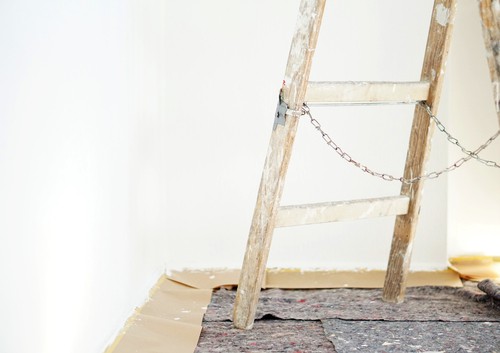
You should start by laying some layers of newspaper or towels on the floor next to the wall base. You have to do it to protect the floor from drips and dirt.
2. Dust the walls
Before proceeding with washing, provide the walls with thorough dusting. This will help get rid of minor buildups of dust and dirt. Equip your vacuum cleaner with the dust brush attachment and run it across the wall surface.
Do it patiently to allow the brush to deal with all the dust properly. You can treat the corners with a tuck cloth to ensure each and every dirt particle gets out. You can use a mop with a clean rug as an alternative to vacuuming.
3. Prepare the washing solution
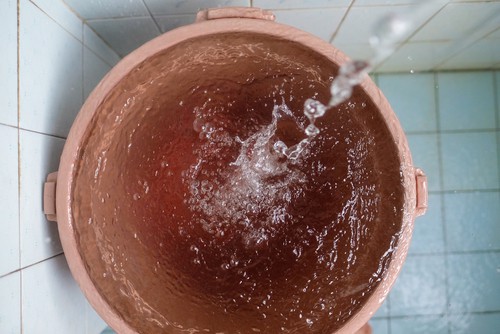
Keep in mind that you always have to wash walls before painting. Even if they are visually clean, they may host hardly detectable oil splashes, fingerprints, and germs that aren’t paint’s friends. Fill up a bucket with lukewarm water and add a laundry or dish detergent.
Add as much soap as to ensure a decent amount of suds. Mix well to get a soapy solution. Soak a microfiber cloth, a towel, or a sponge in the solution and wring it out. Make sure the water is lukewarm, as it deals better with grease and peels old paint and wallpaper off.
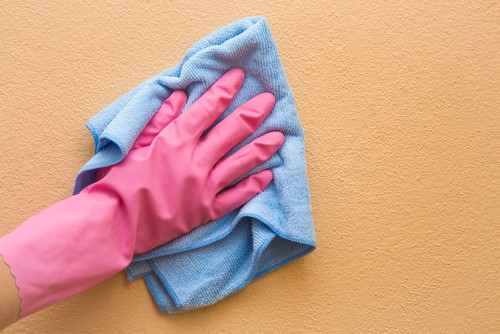
4. Start washing
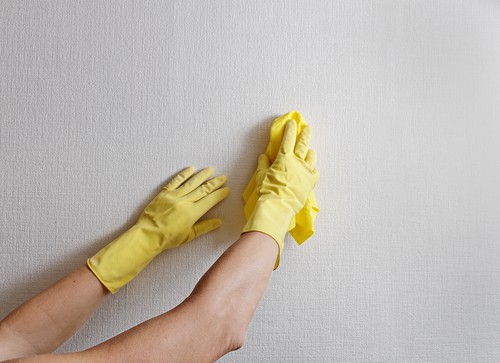
Now that the loose dust has gone away, it’s time to deal with tougher grime. Start from the top of the wall by applying gentle circular motions. You better work with a 1-meter section at a time to keep the best track of the areas you’ve already washed.
Once you reach the baseboard, address another section from the top. Avoid applying much water, as it may create bubbles on the wall. Also, you are good to keep yourself from using extreme pressure to avoid damaging the painting surface.
For tough stains, repeat the washing ritual several times and consider adding a little extra detergent.
5. Tackle stubborn stains
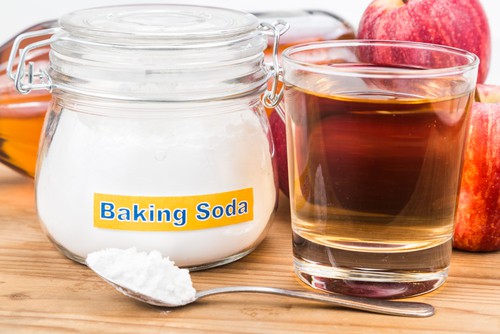
If the stain refuses to lift, you may try more powerful weapons. The first one is a mixture of baking soda and water. Combine 1/2 cup of water and 1/4 of baking soda and stir until paste forms. Apply the paste to the stain and let it do its work for 15 minutes.
Then rinse. Another effective agent is hydrogen peroxide. Just add some drops of it in a cup with soapy water and treat the spot. Hydrogen peroxide performs greatly at tackling blood, wine, and fruit stains.
6. Remove mildew
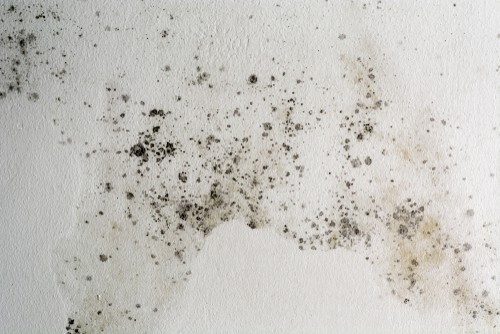
Mildew can be more dangerous than grease stains and other stains. The point is that it can grow through the paint coat and look awful. To remove mildew, mix 3 parts of water and 1 part of bleach.
Apply the mixture to the affected area and allow it to sit for a couple of minutes. Then, scrub with a sponge or soft brush to remove the bleach solution along with the mildew.
Don’t forget that bleach is dangerous for skin, so use appropriate protective equipment during its application.
7. Rinse and dry the walls
Once all stains have come out, start rinsing the walls. Replace the sudsy water from the bucket with a clean one. Soak a cloth in water and run it across the wall, removing the soapy residues. Avoid starting painting immediately after you rinse the wall.
Painting on the moist walls leads to such issues as blistering and weak adherence.
How To Wash Walls Before Painting? – Bottom line
Wall washing is a necessary step to take before wall painting. In this way, you improve the paint adherence and prevent peeling off accidents and mildew growth shortly after application.
Try to tackle all stains, choosing the cleaning product depending on the type of stain. While washing, make sure you have on hand such products as dish detergent, baking soda, hydrogen peroxide, and bleach.